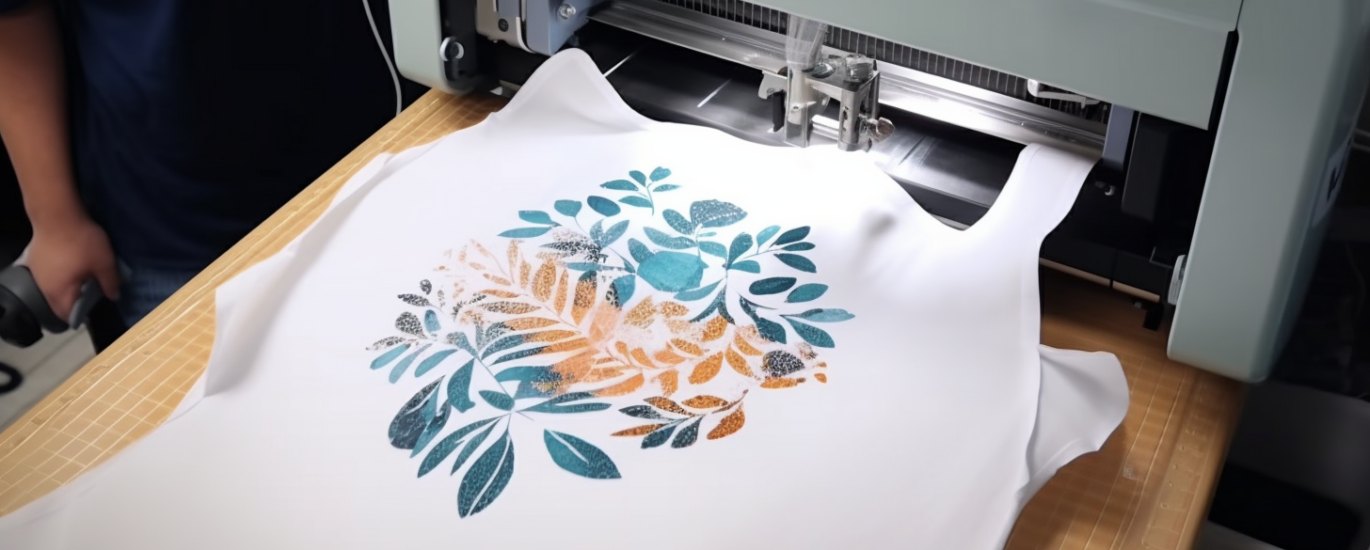
Printing on fabrics using stickers and transfers involves creating custom designs using software, printing the designs onto transfer paper or fabric sheets, and then transferring the design onto the fabric using heat. The process involves selecting a design, printing it onto transfer paper or fabric sheets using an inkjet printer, trimming the transfer paper or fabric sheets to the desired size, and then transferring the design onto the fabric using a heat press or iron.
It’s important to choose stickers or transfers that are compatible with the fabric you’re using, and to follow the manufacturer’s instructions for best results. Printing on fabrics using stickers and transfers is a great way to create custom t-shirts, bags, hats, and other personalized items.
Before you Begin
Prepare your Accessory
Make sure your accessory is clean and dry before applying the transfer or sticker.
Size and Placement
Consider the where you place your design on your accessory to ensure it fits and looks as expected.
How to Print on Fabrics
Printing on fabrics using stickers and transfers involves creating custom designs using software, printing the designs onto transfer paper or fabric sheets, and then transferring the design onto the fabric using heat.
Consider the design you want to create and choose the fabric accordingly. Different fabrics have different properties, such as weight, texture, and durability, that can affect the final outcome of your project.
The weight and weave of the fabric can affect how well the fabric will accept the transfer and how well the transfer will adhere to the fabric.
Testing a small piece of transfer paper on the fabric before starting the project can help you determine if the fabric is suitable for the transfer and if you need to adjust any settings on your printer or iron.
Washing and drying the fabric can help remove any chemicals or sizing that may be present on the fabric, which could affect the transfer process.
Different types of fabric stickers have different properties, such as the type of adhesive used, the thickness of the sticker, and the type of printer they work with. Choose the type that is best suited for your project.
Preparing the fabric by washing and drying it can help remove any chemicals or sizing that may be present on the fabric, which could affect the transfer process.
Cut the fabric sticker to the desired size and shape using scissors or a cutting machine.
Gently peel off the backing paper from the fabric sticker, taking care not to damage the sticker.
Carefully position the fabric sticker on the fabric and press firmly to ensure it adheres properly.
Apply heat to the fabric sticker using an iron or heat press, following the manufacturer's instructions.
Once the transfer paper has been heated, remove it from the fabric sticker to reveal your printed design.
Job Done
Care and Storage
Avoid abrasive cleaners or scrubbing the area where the sticker or transfer is applied and store your accessory in a protective sleeve or bag when not in use to prevent damage.
No Washing for 24 Hours
Avoid washing your accessory for at least 24 hours after applying the sticker or transfer to allow it to fully adhere to the material.


