
Custom shoe design involves creating unique shoes that are tailored to your personal preferences and style. This process often involves working with a shoe designer or custom shoemaker to select materials, colors, and designs that match your vision.
Custom shoes can be made for a variety of occasions, such as weddings, special events, or everyday wear, and can feature intricate details like embroidery, beading, or fabric stickers. The end result is a one-of-a-kind shoe that reflects your individual taste and style.
Before you Begin
Prepare your Accessory
Make sure your accessory is clean and dry before applying the transfer or sticker.
Size and Placement
Consider the where you place your design on your accessory to ensure it fits and looks as expected.
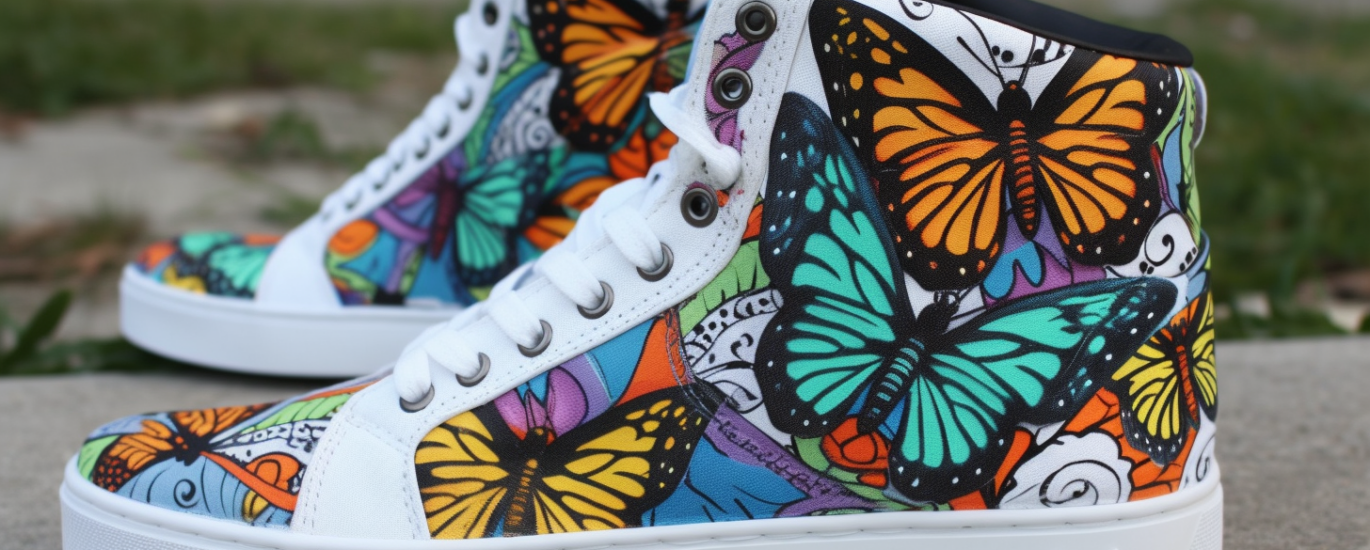
Custom Shoe Design
Custom shoe design involves creating unique shoes that are tailored to your personal preferences and style.
First, you need to decide what type of design you want for your shoes. This could be a pattern, a specific image, or just some text.
Choose fabric stickers and transfers that complement the design you have in mind for your shoes.
Make sure the stickers and transfers you choose are the right size and shape for the specific area of the shoe where you want to apply them.
Different types of stickers and transfers may not work well with certain materials, so make sure to check compatibility before making a purchase.
Before applying any stickers or transfers, make sure your shoes are clean, wiped down with a damp cloth and let them dry completely.
Use sandpaper to smooth out rough spots, this will help the stickers and transfers adhere better to the shoes.
This will ensure you have a smooth surface to work on when applying the stickers and transfers.
The areas you want to customize, placing tape will help you create a clean and precise design without accidentally applying stickers or transfers to the wrong area.
Once you have everything in place, start applying the stickers and transfers to your shoes in the pattern you have decided on.
Follow the instructions provided by the manufacturer to transfer the stickers and transfers to your shoes.
Press down firmly on the stickers and transfers with the iron for about 20 seconds. This will help ensure that the stickers and transfers adhere properly to the shoes.
Carefully peel off the backing paper to reveal the stickers and transfers.
Continue until you have applied all the stickers and transfers you want.
Once you have finished applying all the stickers and transfers, carefully remove the masking tape.
If there are any gaps or areas that need touching up, use a fabric marker to fill them in.
Make sure the shoes are completely dry before wearing them to ensure the stickers and transfers have fully adhered.
Job Done
Care and Storage
Avoid abrasive cleaners or scrubbing the area where the sticker or transfer is applied and store your accessory in a protective sleeve or bag when not in use to prevent damage.
No Washing for 24 Hours
Avoid washing your accessory for at least 24 hours after applying the sticker or transfer to allow it to fully adhere to the material.